The following video shows an example on how to create an Inbound connector
Click “Settings” in your left panel menu, then click “Gateway”
Here you'll find Office 365 Connector. Click “Add Connector” button

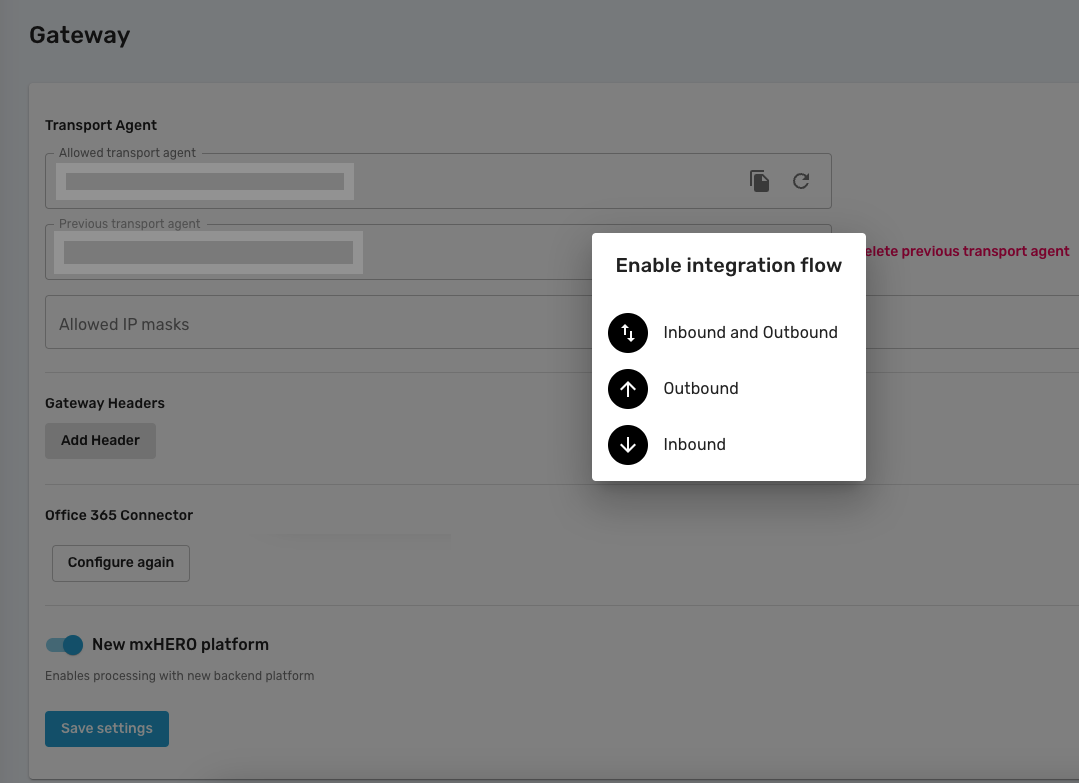
“Enable integration flow” popup should open, here you can choose the type of integration for your company
- Inbound
- outbound
- both (inbound and outbound)

After choosing the integration, You only have to wait until the end of the process (around 2-3 minutes).
(In the following example we choose inbound+outbound integration)

Once the process ends, You'll be notified

Go to your Exchange Admin Center - Mail Flow - Connectors. Here you'll find your new connector (mxHERO out)

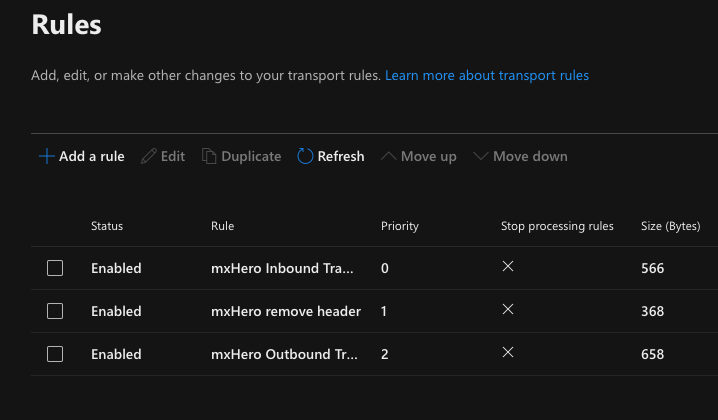
Go to your Exchange Admin Center - Mail Flow - Rules. You'll find here three new transport rules

Your Connector is ready to be used. You're all set