Tutorial: Creating a Drag And Drop rule
In this tutorial we will show you how to create a Drag And Drop rule.
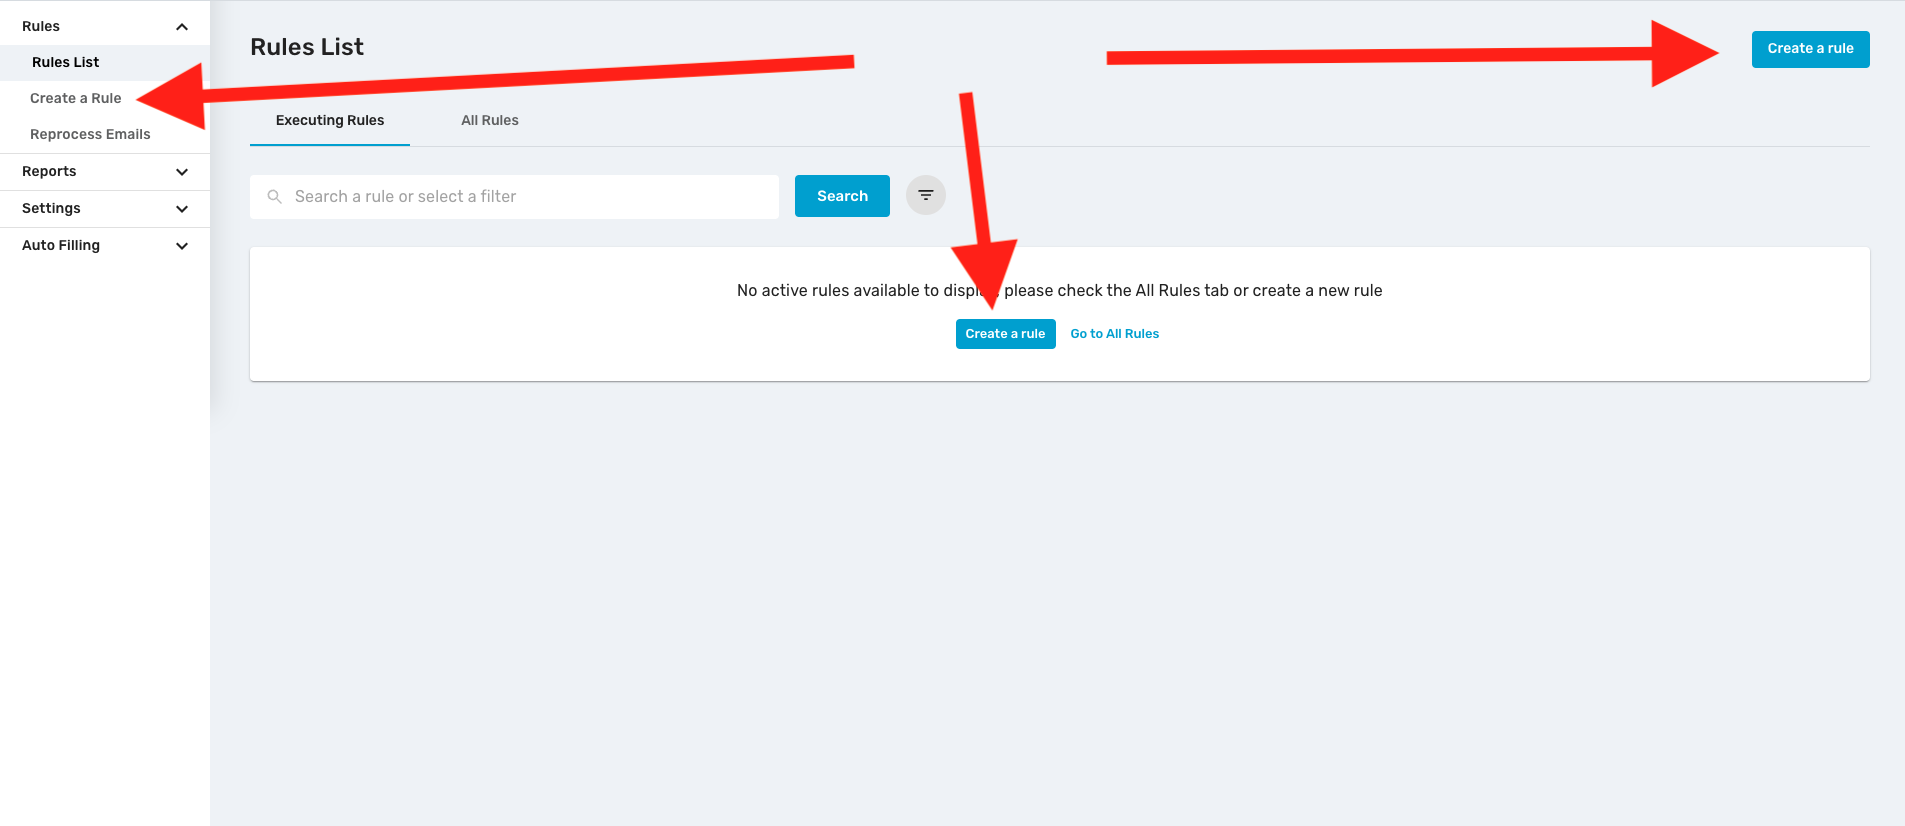
1 - log in to https://dashboard-v3.mxhero.com/login
2 - In main screen, click any “Create a Rule” button
3 - Select Drag And Drop action and click “Start Rule Creation” button at the bottom
%204.27.10%E2%80%AFp.%C2%A0m..png)
4 - Select what do you want to save (EML, PDF and/or Attachments), then Confirm.
%204.28.57%E2%80%AFp.%C2%A0m..png)
5 - In Step 2, click the folder picker to access Box and choose your Webhook. This allows to navigate through Box and choose the folder where you will be dropping your emails to process.
You can choose different folders to act as webhooks.
Once selected, click “Confirm”
(In this example we'll be choosing a single folder with name “Drag And Drop”)
%204.30.26%E2%80%AFp.%C2%A0m..png)
%204.30.51%E2%80%AFp.%C2%A0m..png)
%204.31.50%E2%80%AFp.%C2%A0m..png)
6 - In Step 3, you can choose between selecting your storage account automatically, or picking a specific account.
After choosing, click “confirm”
%204.45.52%E2%80%AFp.%C2%A0m..png)
7 - Finally in Step 4 You can specify the path in your Cloud Storage where the processed files will be saved.
If you choose Pick from storage option, you will be able to select a specific path or folder directly in your cloud storage.%204.47.49%E2%80%AFp.%C2%A0m..png)
After finishing, click “confirm” and give a name to your rule (this is obligatory).
Finally, save you rule
%204.51.00%E2%80%AFp.%C2%A0m..png)
Now you will find your active rules in your main screen.
You are all set!
To save an email, simply drop only any email; .EML or .MSG file into your selected Webhook in Box. (the folder you selected in #5)
The rule will process the files and your archives will be saved in your selected folder (the folder selected in #7)