Tutorial: Creating a Request Approval Rule (Supervisor Approval)
In this tutorial we will show you how to create a Supervisor Approval rule.
1 - Log in to https://dashboard-v3.mxhero.com/login
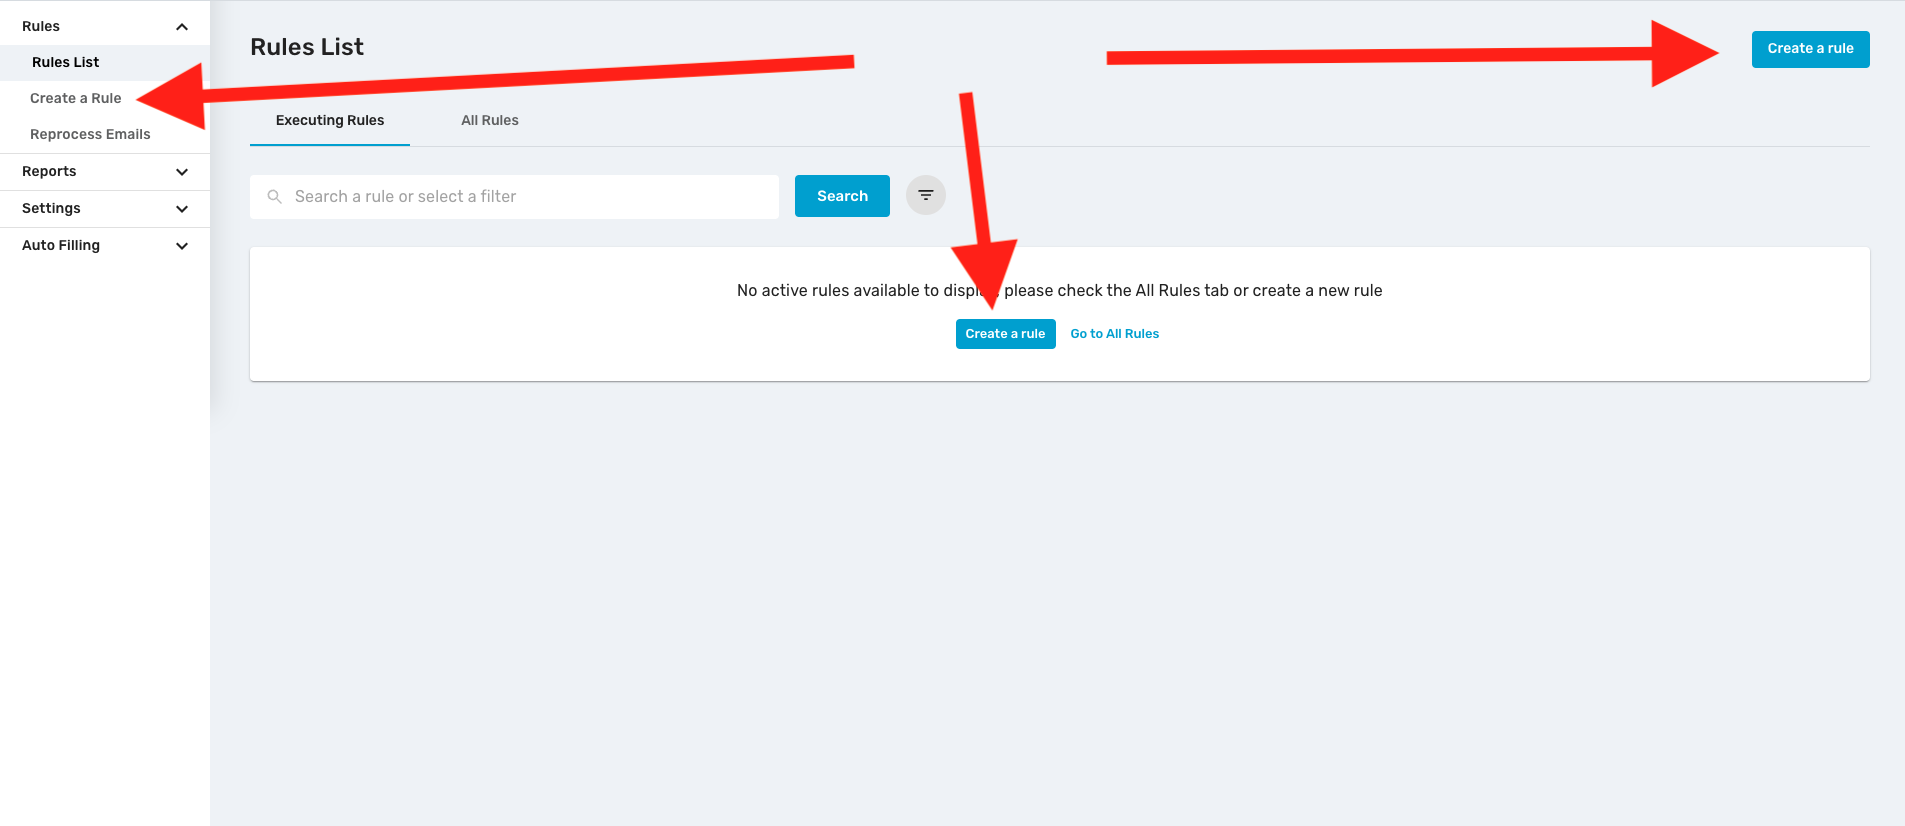
2 - In main screen, click any “Create a Rule” button
3 - Click “Request Approval” button, then click Start Rule Creation
%202.46.43%E2%80%AFp.%C2%A0m..png)
4 - Click Emailflow and select your Sender/Recipient flow, then Confirm.%203.27.55%E2%80%AFp.%C2%A0m..png)
5 - In Step 2, (Approval Step) select specific users to review the flow of your email delivery. You could select by user account, group, tag or variable and multiple reviewers can be added. Once you have finished your selection, click Confirm
%203.33.03%E2%80%AFp.%C2%A0m..png)
6 - You might want to review the Advanced Options to specify an Expiration Time limit or to change the default settings for the notifications that will be sent to your supervisors. Once finished the settings, click Confirm to save your settings%203.37.09%E2%80%AFp.%C2%A0m..png)
%203.37.24%E2%80%AFp.%C2%A0m..png)
7 - Finally, give a name to your rule and Save the Rule
8 - In Rules list screen, the new rule should be available now.
You're all set!!
%203.46.46%E2%80%AFp.%C2%A0m..png)